Showing posts with label assemblage. Show all posts
Friday, June 24, 2016
Faces with Upcycled Materials
Children love picking and choosing materials from odds and ends left over from other art projects or ordinary items that you have around the house. When we did this project I set out containers of buttons, beads, scraps of craft foam, wire, tiles..... We used a very heavy cardboard that my husband had cut out for me, and painted then with tempera. The children in the class were between three and five years old. The nose on the pictured face is a knob from a cupboard that I had saved when we remodeled our kitchen. This child came up with the idea of forming the wire into glasses. I really love this project and seeing the creativity that the children bring to it. I wound up gluing blocks of wood to the back, along the edge, so that the pieces could be upright on a table.
Monday, March 5, 2012
Upcycled Assemblages
These assemblages are a great way to use up odds and ends plus the colored sand that is used for the background makes the objects stand out. The corrugated cardboard is free for the taking at your supermarket and is particularly handy since it is sturdy yet lightweight in case you want to hang your finished piece using just masking tape. I pour the colored sand into salt shakers that I originally bought at a Dollar Store. The children enjoy this last step of adding the background. Beware, though, and have them shake the sand directly over a garbage can. When I demonstrate I give them the example of adding a little salt to your French fries, but they invariably POUR instead of gently shaking.
Here are the steps:
I gathered buttons, wooden spools, old keys (my local hardware store will often donate keys), small tiles from a backsplash, wing nuts and tiny clothes pins. The possibilities are endless.
A frame is added with a marker and a wide brush is used to add a thick layer of white glue.
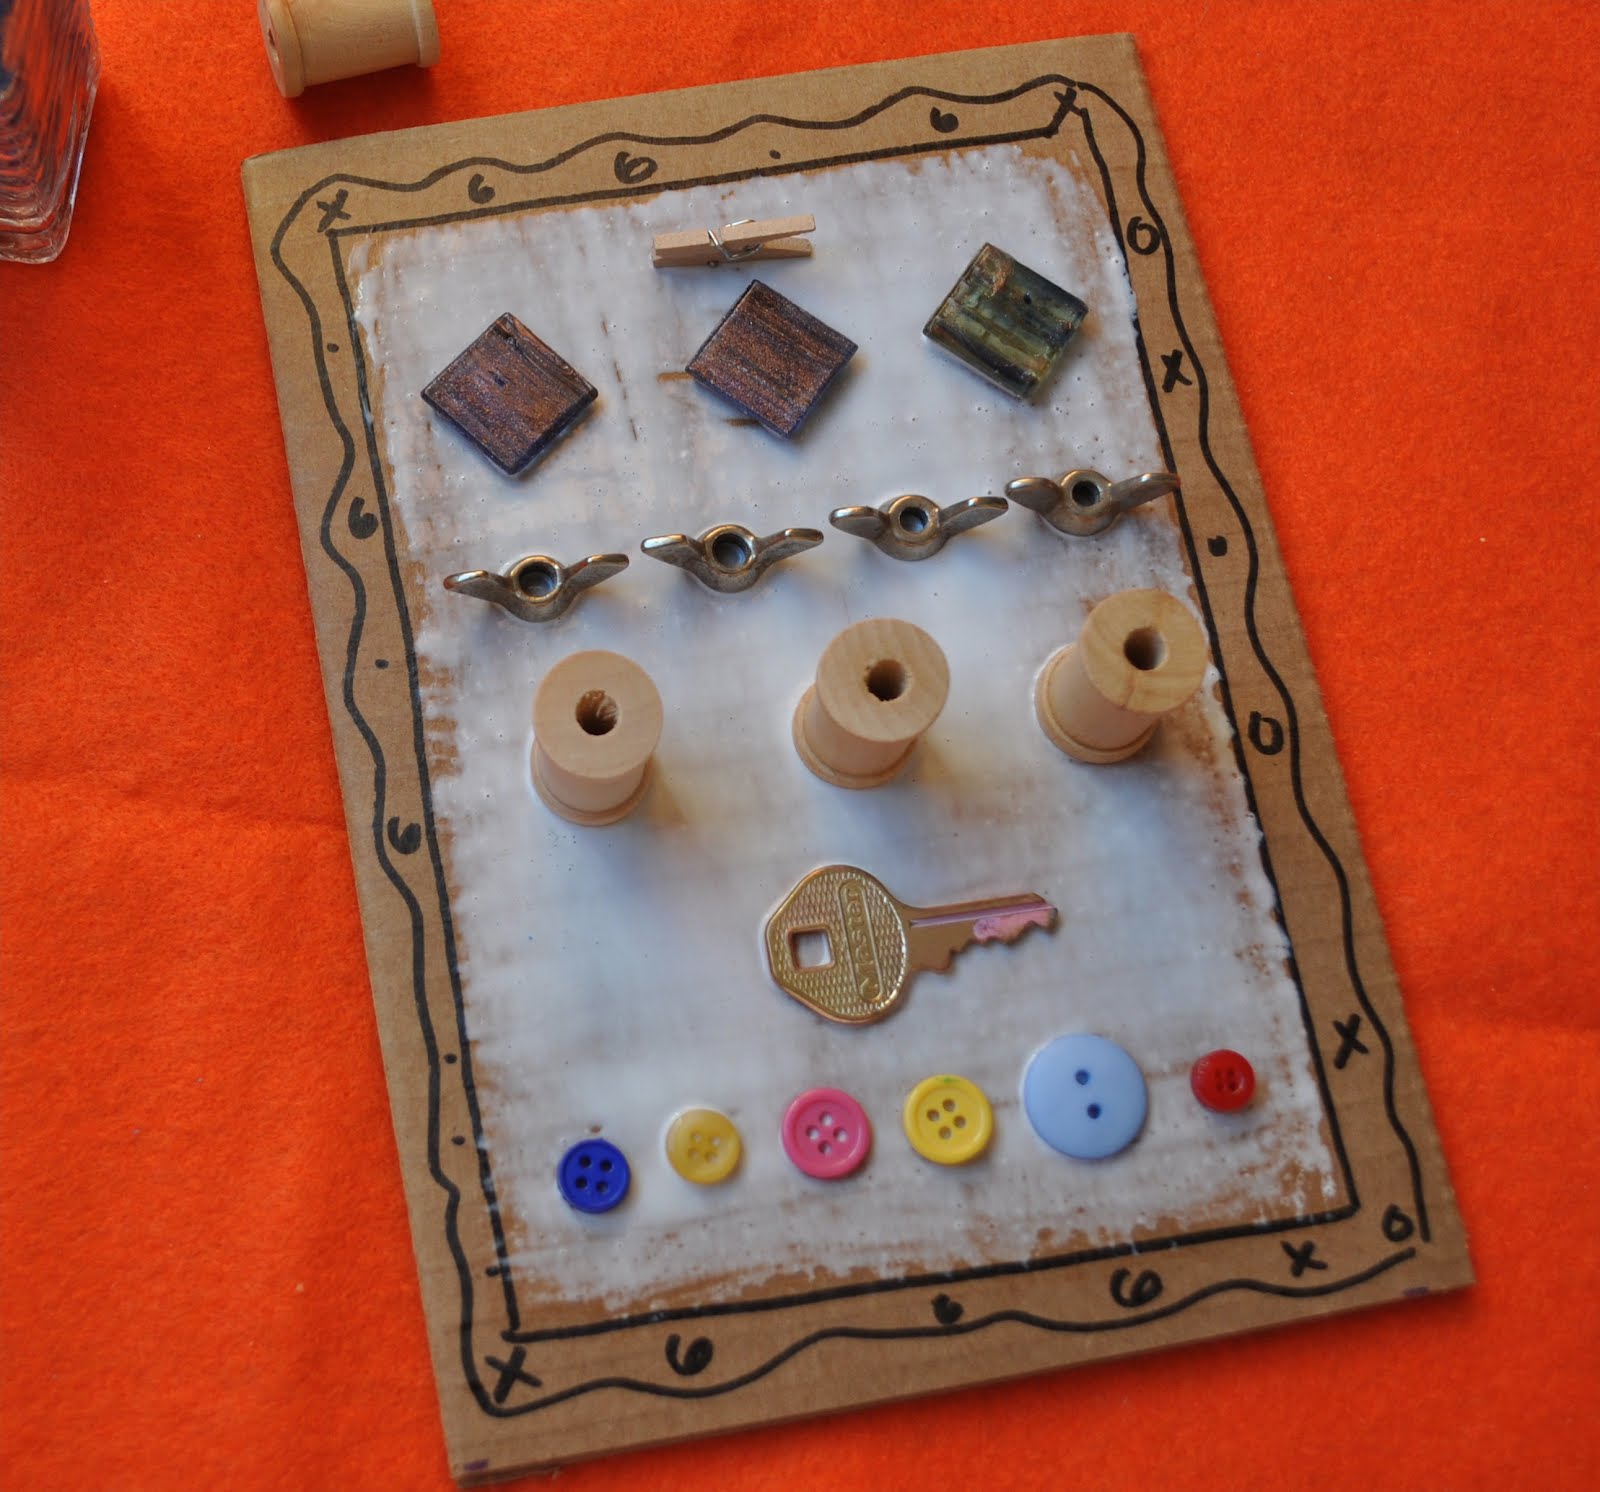
Arrange the objects in the glue and gently shake the colored sand onto the background before that glue dries.
This project is a good lesson in conveying the meaning of background and foreground.
Here are the steps:
I gathered buttons, wooden spools, old keys (my local hardware store will often donate keys), small tiles from a backsplash, wing nuts and tiny clothes pins. The possibilities are endless.
A frame is added with a marker and a wide brush is used to add a thick layer of white glue.
Arrange the objects in the glue and gently shake the colored sand onto the background before that glue dries.
This project is a good lesson in conveying the meaning of background and foreground.
Subscribe to:
Posts (Atom)
