Thursday, December 29, 2011

Upcycled Pencil Cases


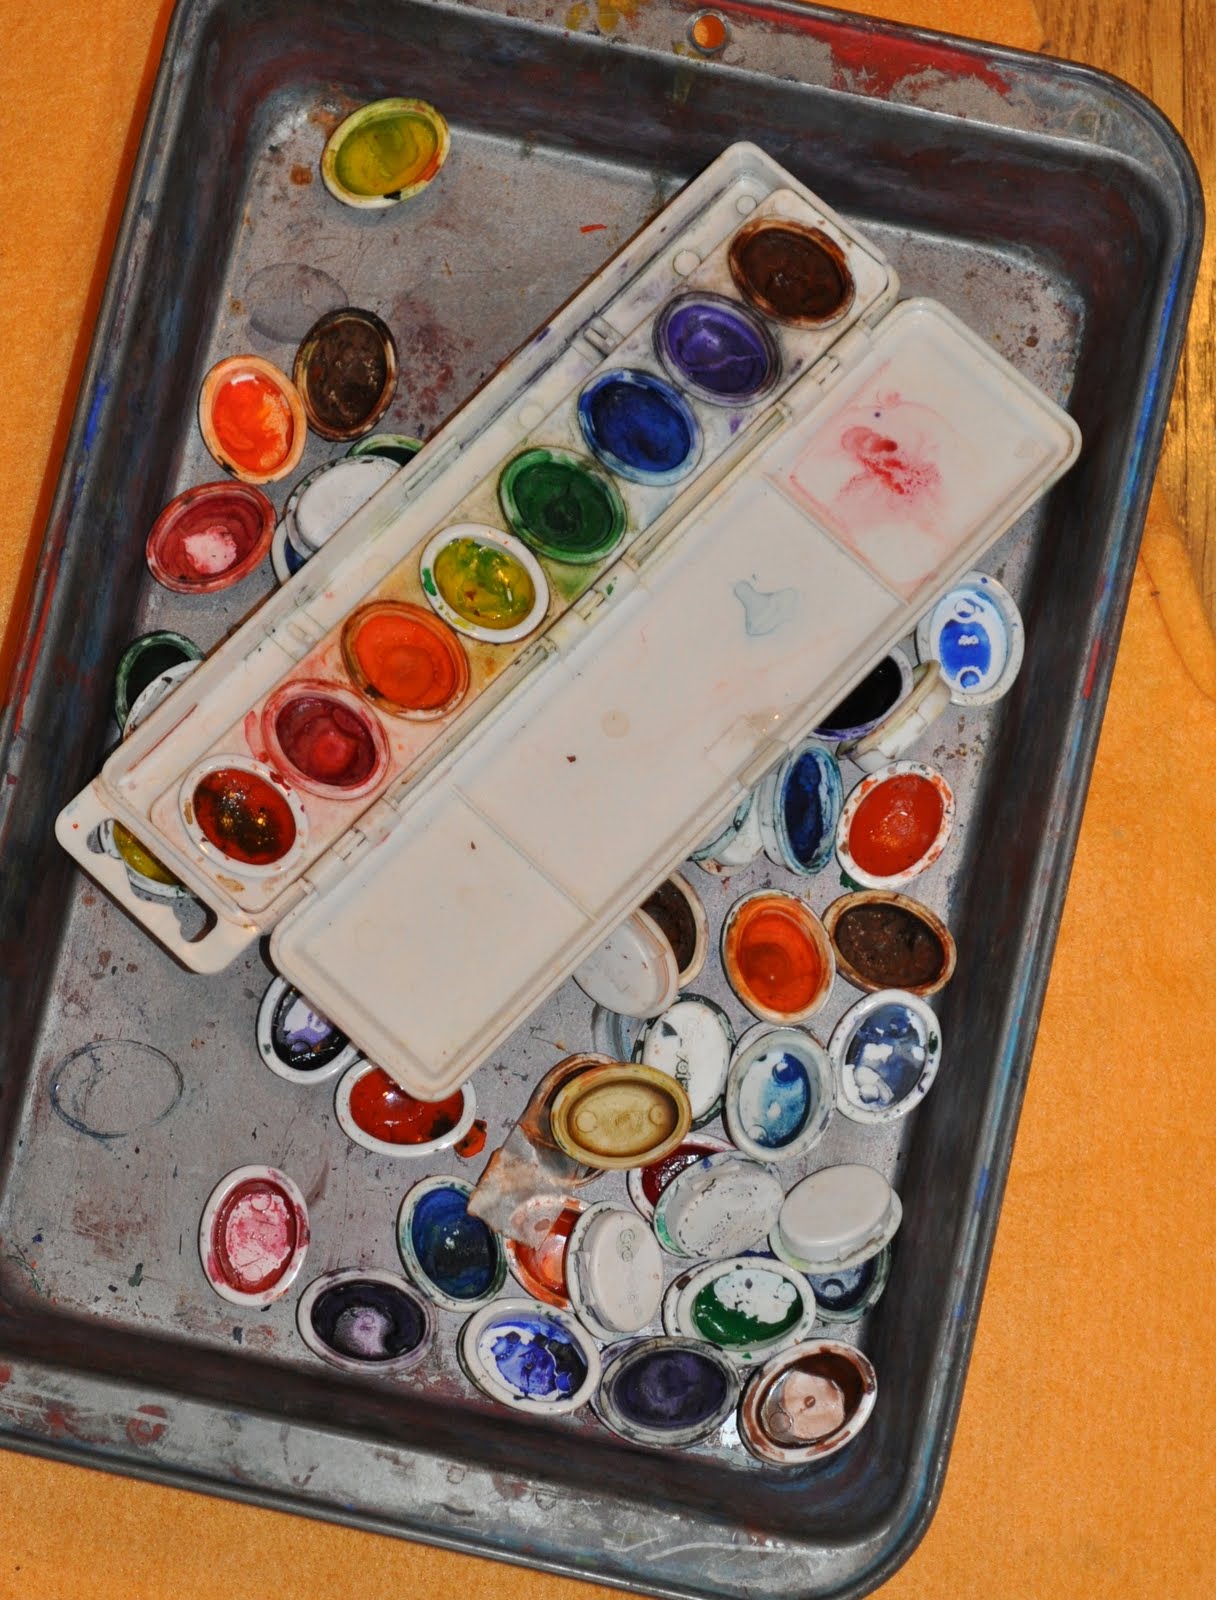
While attempting to organize some of the supplies that I use with children I realized that I had a couple dozen watercolor sets that were on their last legs. Instead of tossing them out I decided that with Mod Podge and some collage materials they could be turned into pencil cases. I removed the little ovals of paint and soaked the trays overnight in a utility sink to get rid of stains and the label on the cover. I looked through a folder where I collect images that I like from the newspaper, cut them down to size and used the Mod Podge to attach them to the cover of the case. With rubber stamps I added "pencil box" and a couple buttons for extra color.

Thursday, December 15, 2011

Collogrpahs

A collograph is a simple printmaking process that is fun to use with children and is an easy way to make sheets of wrapping paper, cards or a piece of art to hang on the wall. You start by cutting out shapes from different materials. I used a sheet of craft foam, a paper that has the texture of corrugated cardboard and a leftover roll of the material that is used to line drawers in your bathroom. All of the materials should be about the same thickness. After cutting out a variety of shapes I glued them to a sheet of cardboard as if I were making a collage. I rolled printmaking ink onto the surface using a brayer once the glue had dried. It's also possible to use a brush and acrylic paint. In this particular print I overlapped the images and used three different colors to add dimension.


I'm starting a newsletter with DIY templates, news from my Etsy shop, and step-by-step photos of some of the techniques for my artwork and illustrations. The newsletter in early June 2018 will include a template for a simple pop-up book to make with children. Sign-ups on the right-hand side of the blog.

Monday, November 28, 2011

How to Make a Jumping Jack

This is a jumping jack that I illustrated. The original art is in pastel and then I copied the image onto card stock to make the jumping jack jack. The jumping jack is for sale at my etsy shop and I also have a template available for you to download so that you can design your own. The template includes directions for engineering the back so that the doll moves when you pull the string. Available here.


The jumping jack is a toy whose origins date back thousands of years. The jointed jumping-jack figure is a cross between a puppet and a paper doll. Their limbs are jointed and tied to a pull string. When the string is pulled and released, the arms and legs move up and down.
This is a fun project to do with children. I recently made them with a group of Kindergarteners using the template at my etsy shop. I enlarged them so that they would be easier for the children to work with and printed them on card stock. They first used colored pencils to create their own figure and then cut out the pieces. They are a little tricky to assemble and do require a fair amount of patience, so I took care of that part for them.

Tuesday, October 25, 2011

Collage Flowers on Canvas


This is a fun project to use up scraps of paper or fabric. For this collage I started with a pre-stretched canvas square. I painted in the sky blue background with acrylic paint. Remember to paint the sides of the canvas to give it a finished look. I collected a variety of printed materials that I found appealing including pages from an atlas, scrap booking paper, and pages from the newspaper. I used a glue stick to assemble the flowers on sheets of white paper. I made copies of the flowers using my printer and then glued the copies with white glue to the canvas. There's no reason that you couldn't glue your original flowers directly on the canvas. I covered the entire surface with Mod Podge and to add some dimension I glued the buttons on top. Burlap, felt and even sheet music are other fun ideas to add interest to the piece.

Tuesday, October 4, 2011

Cutting shapes with Scratch-Foam


Scratch-Foam, as I have previously posted, is an excellent surface for children (and adults) to use to create a printing plate. Lately, I've had fun cutting the foam into shapes. I simply used a pencil to draw the outline of the fish directly on the foam. After cutting it out I pressed lines onto the fish to add the detail that you see in the picture. I rolled printing ink with a rubber brayer directly onto the surface of the fish. As you can see, the ink does not settle into the lines that I have pressed into the foam and those details remain the color of the paper that you are printing on. I made an accordion folder and decorated with fish prints.


I'm starting a newsletter with DIY templates, news from my Etsy shop, and step-by-step photos of some of the techniques for my artwork and illustrations. The newsletter in early June 2018 will include a template for a simple pop-up book to make with children. Sign-ups on the right-hand side of the blog.

Saturday, July 2, 2011

Assemblages


With a class of kindergarteners we constructed assemblages based on the work of the twentieth century American sculptor Louise Nevelson. We talked about her background and the characteristics of her work. The children were given an assortment of utilitarian household objects that they arranged and then glued to a sheet of masonite using Tacky Glue. We attached pieces of foam core to the four sides of the masonite base to make a shadow box. When the glue had dried we went out to the playground and I sprayed the boxes, with the children standing at a safe distance, using silver spray paint. When the assemblage is transformed into one color, the emphasis of the work is now on the simple shapes of the objects.

Sunday, May 15, 2011

Tile Art


For this project I doodled the floral surface design on a pale green sheet of paper. I made a copy of my design using my printer. With Mod Podge I glued the copy to a very inexpensive ceramic tile from Home Depot. The tiles are a little over 4 inches square and less than 20 cents each. I also added a coat of Mod Podge on top of the copy to make it glossy. This is a great project to do with crayon drawings. You can either adhere the crayon drawing directly to the tile or make color copies.