Saturday, January 21, 2012
Hand Painted Scarves
Painting on silk scarves is actually quite simple and rewarding. I originally did this project with a group of Kindergartners. When I introduced them to the project I suggested that they think in terms of simple shapes and to not worry if their colors bled into one another. I tried to follow my own advise when I painted the pictured scarf. Dharma Trading Company has a great site and reasonable prices for ordering white scarves. I used acrylic paint mixed with about 4 parts water so that it is slightly thicker than watercolor. Make sure that you have newspapers or a drop cloth underneath your scarf since the color will go right through. I initially planned on working in just blue and gold, but the gold had a rather drab look, so I added the reddish orange and pale green. When the scarf dries you can soak it in warm water and fabric softener. The finished product will be stiff if you do not sufficiently dilute the paint.
Wednesday, January 18, 2012
Valentine's Day
The celebration of Valentine’s Day has a long and rich history with roots in Christianity and Roman tradition. In our digital age with people in constant communication with one another and discussions about whether we even need the USPS I hope that people don’t abandon the idea of buying and sending a handmade card or making their own. Receiving a card to hold in your hand while reading a heartfelt message or verse is such a sweet and simple expression of affection.
In Great Britain the celebration of Valentine’s Day began in the 17th century. In Norwich, England the general custom was to leave gifts, often anonymously, on doorsteps on St. Valentine’s eve. The bearer of gifts would deposit the present, ring the bell and then disappear. These packages sometimes contained valuables, but other times were more of a prank. They might contain a mundane note wrapped in layer upon layer of wrapping paper.
Unlike today it was common for friends as well as lovers to exchange small gifts and handwritten notes in all social classes. Oranges, dolls, silver pencil holders and books were common gifts. Sweet plum buns and gingerbread were also customary Valentine’s Day gifts in certain regions. In Wales carved wooden spoons with designs of hearts, keys and key holes were traditional gifts. With the introduction of penny postage, the use of the envelope and better printing technologies printed cards made it easier to express feelings, although still often anonymously.
In Victorian times cards were made of lace papers, satin ribbons, velvet and tulle. Gloves or illustrations of gloves on cards became a symbol of the holiday. Fathers were very strict and would not allow their daughters to read any correspondence unless they had read and approved of it first. For that reason cards were designed with secret panels to conceal sentiments of affection.
In the United States Esther A. Howland became the first commercial designer of mass produced Valentines in the 1840s. Howland, a graduate of The Mount Holyoke Female Seminary, had received a Valentine made in England. Convinced that she could produce an even better version convinced her father, the owner of a book and stationery store in Worcester, MA, to order her paper supplies from England. She produced samples that quickly led to an extremely popular line of cards.
Today the “burden” of Valentine’s Day often falls to men with the expectation of jewelry, red roses and boxes of chocolate, but wait, isn’t this a leap? On a leap year it is just as common for the woman to send a message of love! Available here.
Saturday, January 14, 2012
Birthday Crowns
Making crowns is a fun activity at a birthday party.
I used poster board for the base. Once you make the first one you can trace it and have them all pre-cut for your guests. Mine is 20 inches long. I found a great selection of satin and grosgrain ribbon at the dollar store and bought rick rack in different colors. The pattern on the crown was done with the stamp that is pictured and the little medallion in the center is made from kitchen foil that was imprinted with the cast iron trivet ( a paper doily works too). The jewels are sheets of glitter paper that were cut into squares and attached with white glue.
Have fun!
Thursday, December 29, 2011
Upcycled Pencil Cases
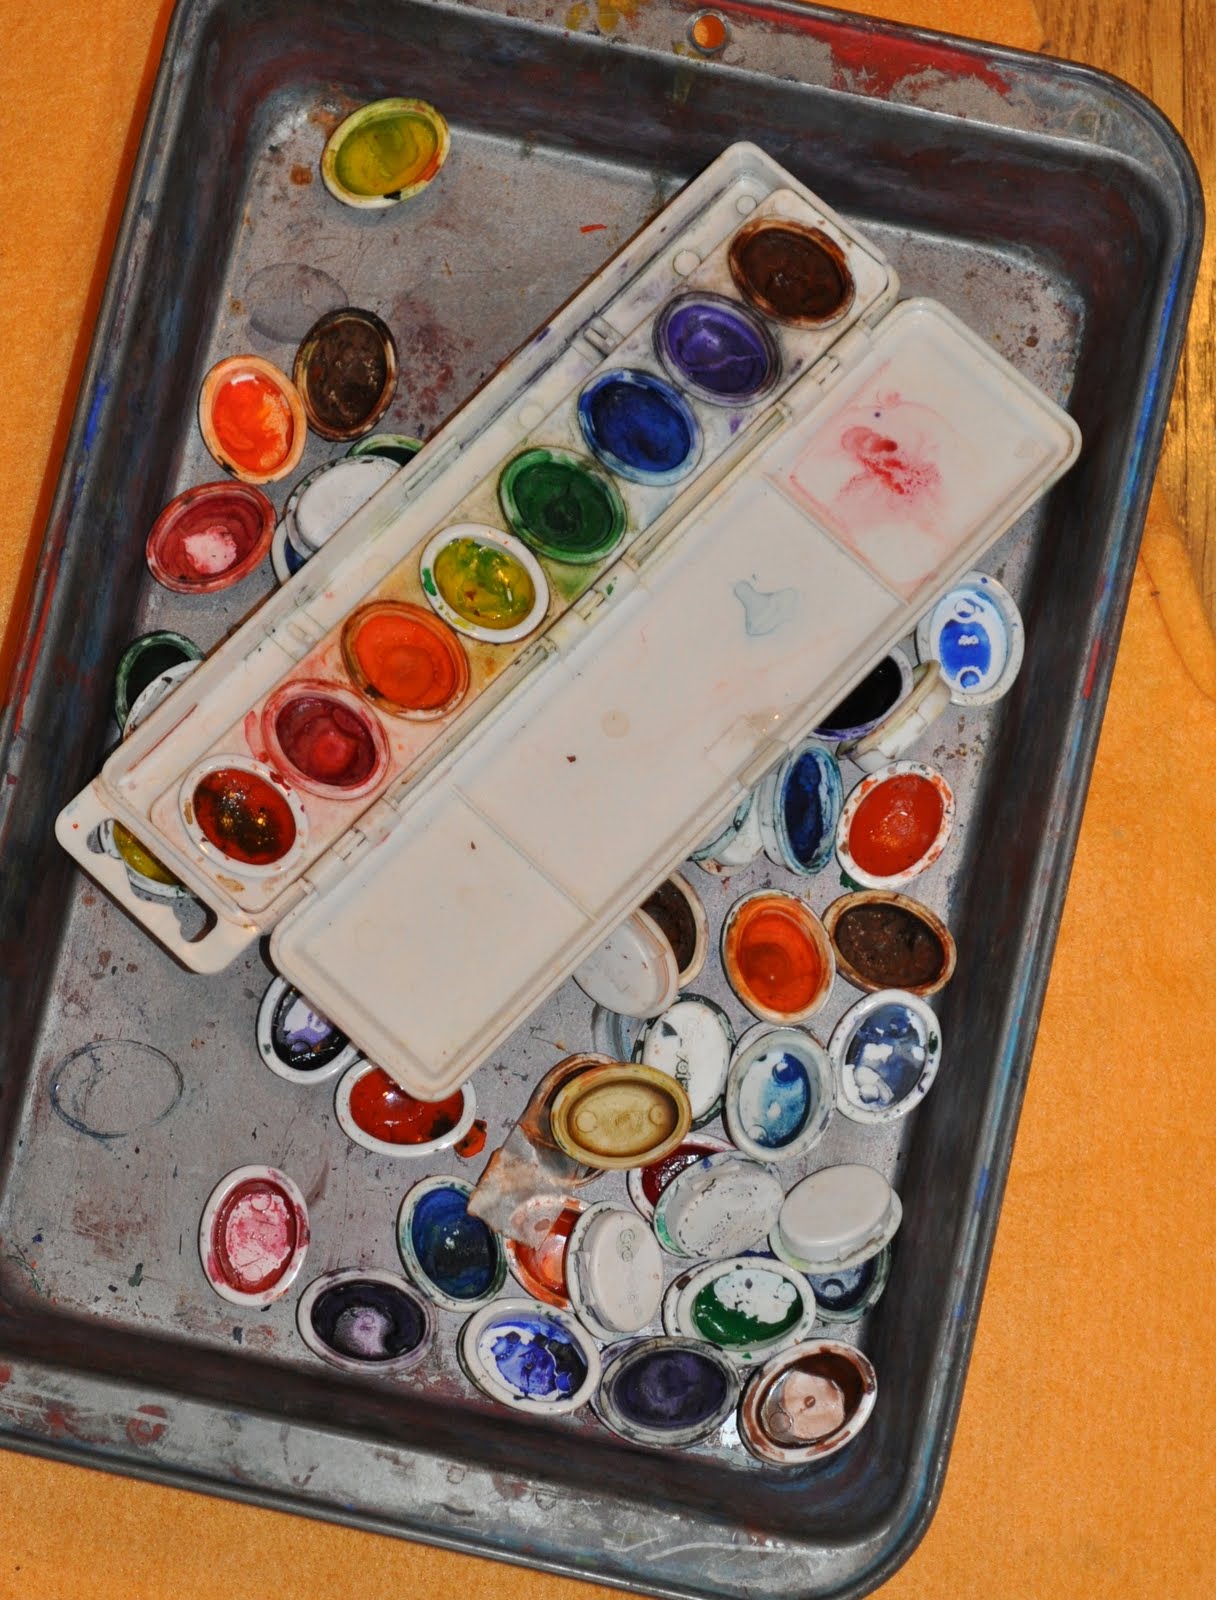
While attempting to organize some of the supplies that I use with children I realized that I had a couple dozen watercolor sets that were on their last legs. Instead of tossing them out I decided that with Mod Podge and some collage materials they could be turned into pencil cases. I removed the little ovals of paint and soaked the trays overnight in a utility sink to get rid of stains and the label on the cover. I looked through a folder where I collect images that I like from the newspaper, cut them down to size and used the Mod Podge to attach them to the cover of the case. With rubber stamps I added "pencil box" and a couple buttons for extra color.
Thursday, December 15, 2011
Collogrpahs
A collograph is a simple printmaking process that is fun to use with children and is an easy way to make sheets of wrapping paper, cards or a piece of art to hang on the wall. You start by cutting out shapes from different materials. I used a sheet of craft foam, a paper that has the texture of corrugated cardboard and a leftover roll of the material that is used to line drawers in your bathroom. All of the materials should be about the same thickness. After cutting out a variety of shapes I glued them to a sheet of cardboard as if I were making a collage. I rolled printmaking ink onto the surface using a brayer once the glue had dried. It's also possible to use a brush and acrylic paint. In this particular print I overlapped the images and used three different colors to add dimension.
I'm starting a newsletter with DIY templates, news from my Etsy shop, and step-by-step photos of some of the techniques for my artwork and illustrations. The newsletter in early June 2018 will include a template for a simple pop-up book to make with children. Sign-ups on the right-hand side of the blog.
Monday, November 28, 2011
How to Make a Jumping Jack
This is a jumping jack that I illustrated. The original art is in pastel and then I copied the image onto card stock to make the jumping jack jack. The jumping jack is for sale at my etsy shop and I also have a template available for you to download so that you can design your own. The template includes directions for engineering the back so that the doll moves when you pull the string. Available here. The jumping jack is a toy whose origins date back thousands of years. The jointed jumping-jack figure is a cross between a puppet and a paper doll. Their limbs are jointed and tied to a pull string. When the string is pulled and released, the arms and legs move up and down.
This is a fun project to do with children. I recently made them with a group of Kindergarteners using the template at my etsy shop. I enlarged them so that they would be easier for the children to work with and printed them on card stock. They first used colored pencils to create their own figure and then cut out the pieces. They are a little tricky to assemble and do require a fair amount of patience, so I took care of that part for them.
Tuesday, October 25, 2011
Collage Flowers on Canvas
This is a fun project to use up scraps of paper or fabric. For this collage I started with a pre-stretched canvas square. I painted in the sky blue background with acrylic paint. Remember to paint the sides of the canvas to give it a finished look. I collected a variety of printed materials that I found appealing including pages from an atlas, scrap booking paper, and pages from the newspaper. I used a glue stick to assemble the flowers on sheets of white paper. I made copies of the flowers using my printer and then glued the copies with white glue to the canvas. There's no reason that you couldn't glue your original flowers directly on the canvas. I covered the entire surface with Mod Podge and to add some dimension I glued the buttons on top. Burlap, felt and even sheet music are other fun ideas to add interest to the piece.
Subscribe to:
Posts (Atom)